How to Read a Crane Load Chart: Step-by-Step Guide
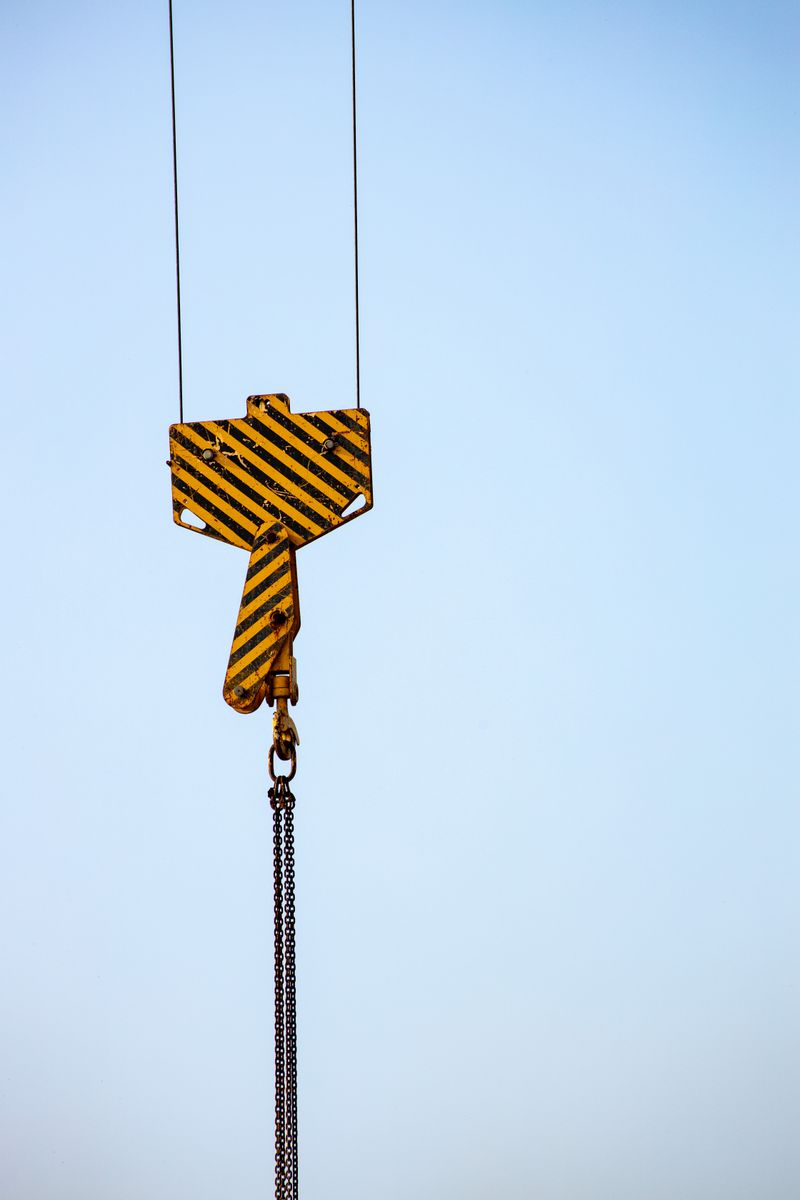
The load chart is the single most important document in any crane operation. It tells the operator and rigging crew exactly how much the crane can safely lift at any given combination of boom length and radius. Misreading — or ignoring — the load chart is one of the most common factors in crane tip-overs and structural failures.
This guide explains everything you need to know about how to read a crane load chart, from understanding the key variables to working through a real-world example. Whether you’re a new crane operator, a rigging supervisor, or a project engineer planning lifts, this is required knowledge.
What Is a Crane Load Chart?
A crane load chart (also called a crane capacity chart or crane rating chart) is a document published by the crane manufacturer that specifies the maximum allowable load the crane can handle at various combinations of:
- Boom length
- Operating radius (horizontal distance from the crane’s center of rotation to the load)
- Crane configuration (outriggers extended, on rubber tires, counterweight installed)
Load charts are specific to each crane model and serial number. They are not interchangeable between machines, even of the same model, if configurations differ.
OSHA requires the load chart to be in the crane cab at all times (29 CFR 1926.1417(j)). If the load chart is missing, damaged, or illegible, the crane must be taken out of service until a replacement is obtained from the manufacturer.
Why Load Charts Matter
A crane’s rated capacity is not a fixed number. It changes constantly based on:
- How far the load is from the crane’s center pin (radius)
- How long the boom is
- What angle the boom is at
- How the crane is configured (on outriggers vs. tires)
- What attachments are installed
A crane rated at 100 tons might safely lift 100 tons at a 10-foot radius — but only 15 tons at a 60-foot radius with the same boom. Understanding this dynamic is the entire purpose of reading a load chart.
Exceeding the chart rating risks:
- Structural failure of the boom, jib, or superstructure
- Overturning — the crane tipping over with the load
- Wire rope or rigging failure
Key Variables You Must Know Before Looking at the Chart
Before you open the load chart, you need to know five things with certainty:
1. The Gross Load Weight
This is the total weight being lifted, including:
- The weight of the load itself (verified against supplier documentation or engineering drawings)
- The weight of all rigging: slings, shackles, hooks, spreader bars, load beams
- The weight of the crane’s hook block and headache ball
Never estimate. If the load weight is uncertain, use a certified load cell or dynamometer to weigh it before committing to the lift.
2. The Operating Radius
The operating radius (also called the working radius) is the horizontal distance from the center of rotation of the crane to the center of the load, measured in feet (or meters in metric charts).
To measure or calculate the radius:
- Identify the boom foot pin (pivot point) on the superstructure
- Add the horizontal distance from the center pin to the boom foot
- Add the horizontal distance from the boom foot to directly below the load hook
Most cranes have a load radius indicator (a pendulum-style indicator in the cab), but always verify with a tape measure or laser distance tool for critical lifts. A laser distance measurer is an inexpensive and invaluable tool for pre-lift radius confirmation.
3. The Boom Length
Identify the exact boom length that will be used. Most telescopic cranes allow multiple boom lengths. Lattice boom cranes are assembled to a specific length for each lift. The load chart has a separate column (or table) for each boom length.
4. The Configuration
Most load charts provide ratings for two or more configurations:
- On outriggers, fully extended: Maximum outrigger span, all pads deployed — this gives the highest rated capacity
- On outriggers, partially extended: Reduced capacity
- On rubber (free on tires): Significantly reduced capacity; crane can travel with load
- 360° vs. over-rear/over-front: Some configurations restrict slewing to certain quadrants
Always use the correct configuration table. Operating on outriggers but using the “on rubber” chart is dangerous and a serious error.
5. Boom Angle (for Lattice Boom Cranes)
On lattice boom cranes, capacity is often expressed by boom angle rather than boom length + radius. Boom angle is measured from horizontal. As boom angle decreases (the boom lowers), the radius increases and capacity drops.
Understanding the Load Chart Table
A typical load chart is formatted as a grid:
- Rows: Operating radius (in feet or meters), usually in 5-foot or 10-foot increments
- Columns: Boom length (in feet or meters)
- Values in the cells: Maximum gross load capacity in pounds or tons
Sample Simplified Load Chart Table (Illustrative)
| Radius | 40 ft Boom | 60 ft Boom | 80 ft Boom | 100 ft Boom |
|---|---|---|---|---|
| 10 ft | 85,000 lb | 72,000 lb | 60,000 lb | 48,000 lb |
| 15 ft | 68,000 lb | 58,000 lb | 49,000 lb | 38,000 lb |
| 20 ft | 52,000 lb | 44,000 lb | 37,000 lb | 29,000 lb |
| 30 ft | 34,000 lb | 29,000 lb | 24,000 lb | 19,000 lb |
| 40 ft | — | 20,000 lb | 17,000 lb | 13,500 lb |
| 50 ft | — | — | 12,000 lb | 10,000 lb |
Note: This table is illustrative only. Always use the actual manufacturer’s chart for your specific crane.
Reading this table: if your crane has a 60-foot boom and the load is 30 feet from the center pin, the maximum rated capacity is 29,000 lb gross.
Required Deductions: What Comes Off the Chart Capacity
The number in the load chart is the gross capacity — the maximum total weight that can be on the hook. You must subtract the weight of every piece of rigging hardware between the hook and the load:
| Item | Typical Weight |
|---|---|
| Hook block (light duty) | 100–500 lb |
| Hook block (heavy duty) | 1,000–5,000 lb |
| Headache ball | 50–300 lb |
| Wire rope slings (per set) | 50–500 lb |
| Chain slings | 30–200 lb per leg |
| Shackles (per pair) | 5–50 lb |
| Spreader bar / load beam | 200–2,000 lb |
| Tag lines | Negligible |
Net load capacity = Chart capacity − all rigging and hook block weight
The net load capacity is what the actual payload (the thing you’re lifting) cannot exceed.
On Outriggers vs. On Rubber
This distinction is critical and frequently misunderstood.
On outriggers (fully extended) ratings represent the crane’s structural and stability limits when fully supported on the outrigger pads. These ratings are substantially higher and are used for the vast majority of construction lifts.
On rubber (on tires) ratings are much lower because:
- The crane’s stability depends on the tire contact patches, which are far smaller than outrigger pads
- The crane’s superstructure can tilt as the suspension deflects
- Ground bearing capacity is spread over a smaller area
Some mobile cranes list “pick and carry” ratings, which specify the maximum load a crane can carry while traveling on tires. These are the lowest ratings in the chart.
Always confirm which configuration table you are using before reading any capacity value.
Wind Speed Considerations
All load chart ratings assume calm wind conditions (typically less than 20 mph as a baseline). As wind speed increases:
- Side load on the boom increases
- Load swing becomes harder to control
- Effective radius can increase as the load swings out
Crane manufacturers typically publish a maximum operating wind speed (often 30–35 mph sustained). Many will also provide wind derating factors for high-capacity lifts.
On any critical or near-capacity lift:
- Check the actual wind forecast for the lift window (not just the morning weather)
- Use a handheld anemometer to measure real-time wind at the site and at boom tip height if possible
- Consider postponing lifts if wind conditions are approaching or exceeding published limits
Safety Margin Principles
The load chart rating is not a target — it’s a maximum. Industry best practices call for working to no more than 85–90% of the chart capacity on any given lift. This margin accounts for:
- Dynamic loading during pick, swing, and set
- Load weight uncertainty
- Ground condition variability
- Chart interpolation errors
- Equipment wear and age
On critical lifts (near-capacity, tandem lifts, picks over personnel or structures), many rigging engineers reduce the working capacity further and require engineering sign-off.
Worked Example: Step-by-Step Load Chart Calculation
Let’s walk through a complete example.
The Scenario
You need to lift a structural steel beam to the second floor of a building under construction. Here are the known facts:
- Beam weight (certified): 14,200 lb
- Rigging: Two 2-leg wire rope slings (total 180 lb), two shackles (20 lb), one spreader bar (350 lb)
- Hook block weight: 420 lb
- Operating radius (measured): 35 feet
- Boom length to be used: 60 feet
- Configuration: On outriggers, fully extended
- Wind speed: 12 mph (acceptable)
Step 1: Calculate Gross Load
| Item | Weight |
|---|---|
| Steel beam | 14,200 lb |
| Wire rope slings | 180 lb |
| Shackles | 20 lb |
| Spreader bar | 350 lb |
| Hook block | 420 lb |
| Total Gross Load | 15,170 lb |
Step 2: Look Up Chart Capacity
Using the on-outriggers, fully extended table for a 60-foot boom:
- At 30-foot radius: 29,000 lb
- At 40-foot radius: 20,000 lb
- At 35-foot radius (interpolated): approximately 24,500 lb
On most charts, if your exact radius isn’t listed, interpolate linearly between the two nearest values.
Step 3: Apply Safety Margin
Working at 90% of chart capacity:
24,500 lb × 0.90 = 22,050 lb working capacity
Step 4: Compare
Gross load of 15,170 lb vs. working capacity of 22,050 lb.
Result: This lift is well within safe limits. The crane is operating at approximately 62% of chart capacity — a comfortable margin.
Step 5: Document
Record the lift plan, load weights, radius, configuration, chart capacity, and calculated margin in your lift plan documentation. Sign and retain.
Common Load Chart Mistakes to Avoid
- Using the wrong configuration table (on rubber vs. on outriggers)
- Forgetting to deduct rigging weight from chart capacity
- Not verifying the actual operating radius — guessing the radius is how lifts get into trouble
- Interpolating incorrectly — always round to the conservative (lower capacity) value when between listed radii
- Using a chart from a different crane — charts are machine-specific
- Ignoring wind conditions on near-capacity lifts
Tools That Support Load Chart Work
Staying organized and precise on critical lifts is easier with the right tools:
- Laser distance measurer: Quickly and accurately measure operating radius from crane center to load
- Digital load cell / crane scale: Verify actual load weight; eliminates guesswork on unknown loads
- Handheld anemometer: Measure wind speed at the jobsite in real time
- Lift planning software: Some rigging engineers use dedicated software that digitizes load charts and automates calculations
Final Thoughts
Reading a crane load chart correctly is not optional — it’s a fundamental professional skill for anyone involved in crane operations. The consequences of getting it wrong are severe and irreversible.
The core process is straightforward:
- Know your gross load (payload + all rigging)
- Know your exact operating radius
- Know your boom length and configuration
- Find the correct cell in the correct chart table
- Deduct rigging weights to get net payload capacity
- Apply a working safety margin
- Document and proceed only if the lift is within limits
Master this process, and you’ve taken one of the most important steps toward conducting safe, professional crane operations on every job.

Ironworks Insider Editorial Team
Independent trade-focused editorial team