How to Secure Heavy Equipment on a Trailer: DOT and FMCSA Requirements
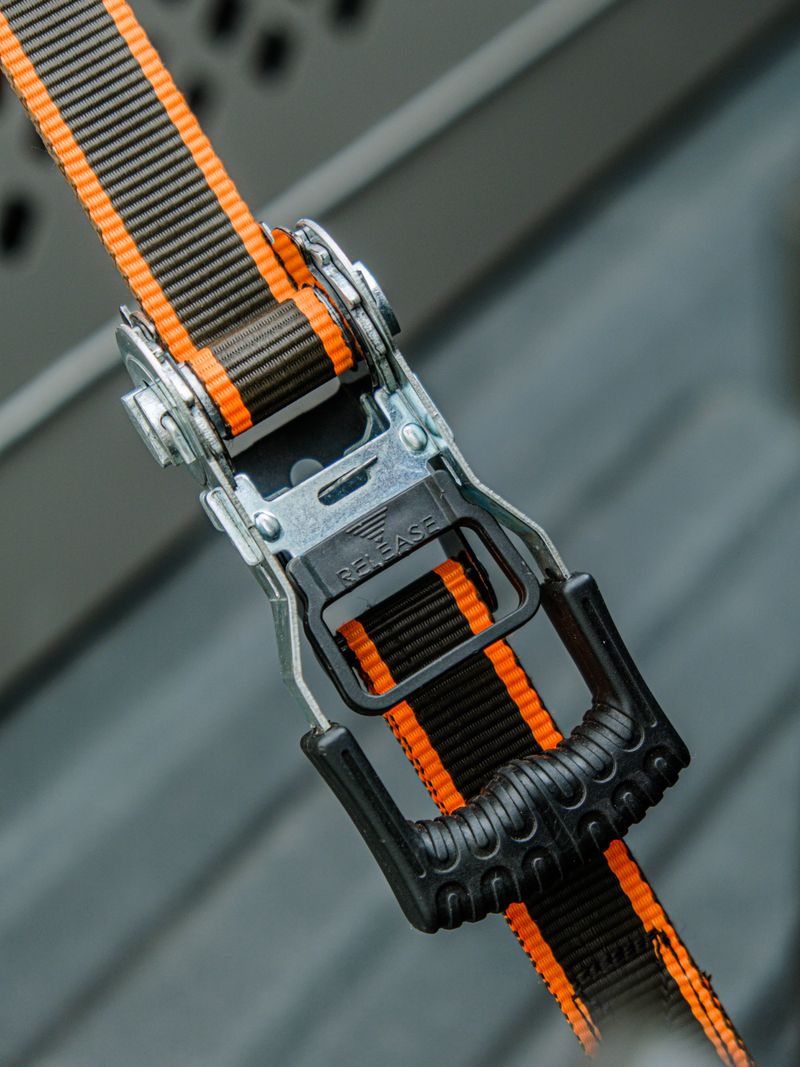
An improperly secured machine on a trailer is a 20-ton projectile. Equipment shifts and falls from trailers more often than most contractors want to admit — during hard braking, highway curves, and sudden lane changes. The results range from destroyed equipment to highway fatalities. The Federal Motor Carrier Safety Administration (FMCSA) regulates cargo securement under 49 CFR Part 393, and the penalties for non-compliance range from out-of-service orders to criminal liability when equipment causes accidents.
This guide covers the practical and regulatory requirements for securing heavy equipment — excavators, bulldozers, skid steers, compactors, and everything else you’ll move on a flatbed or lowboy trailer.
FMCSA Cargo Securement Basics: 49 CFR Part 393
The FMCSA’s cargo securement rules establish Working Load Limits (WLL) and Aggregate Working Load Limit (AWLL) requirements. Here’s what you need to understand:
Working Load Limit (WLL)
The maximum load that each individual tie-down device (chain, strap, binder) is rated for. This number is stamped on the hardware or listed in the manufacturer’s documentation. Never use equipment without a readable WLL marking.
Aggregate Working Load Limit (AWLL)
The combined WLL of all tie-downs used must meet a minimum standard based on the weight of the cargo:
- AWLL must be at least 50% of the cargo weight for cargo that can be blocked, braced, or restrained against forward, rearward, and lateral movement
- For most equipment loads, the calculation is: (Number of tie-downs) × (WLL per tie-down) ≥ 50% of equipment weight
Minimum Number of Tie-Downs
| Cargo Weight | Cargo Length | Minimum Tie-Downs |
|---|---|---|
| Up to 10,000 lbs | Up to 10 ft | 2 |
| Over 10,000 lbs | Any | Calculate by AWLL |
| Any weight | Over 10 ft | Minimum 1 per 10 ft of cargo length |
Important: These are minimums. For heavy equipment on sloped or off-road trailers, more tie-downs are always better. A 20-ton excavator typically requires 4–8 chains in proper configuration.
Chain Grades: Choosing the Right Chain
Transport chains come in different grades, each with dramatically different WLL ratings. Using the wrong grade chain is a compliance violation — and a safety hazard.
| Chain Grade | Color Code | WLL per Link (3/8” chain) | Characteristics |
|---|---|---|---|
| Grade 30 | None | ~2,100 lbs | Low-carbon steel, NOT for overhead lifting, marginal for transport |
| Grade 43 | Yellow | ~3,900 lbs | Most common “transport chain,” standard for light and medium loads |
| Grade 70 | Gold/Orange | ~4,700 lbs | ”Transport grade” — FMCSA commonly referenced |
| Grade 80 | Blue/Black | ~7,100 lbs | Alloy chain, approved for overhead lifting and heavy transport |
| Grade 100 | Purple | ~8,800 lbs | High-strength alloy, premium heavy transport |
For heavy equipment transport, Grade 70 or higher is standard. Grade 43 chains are acceptable by FMCSA rules, but Grade 70 gives you more AWLL per chain, meaning you can meet requirements with fewer chains on borderline loads.
5/16” vs 3/8” vs 1/2” chain: Chain size matters as much as grade. For equipment over 20,000 lbs, 1/2” Grade 70 chain with a WLL of ~11,300 lbs per chain is the practical standard.
Binder Types: Ratchet vs. Chain Lever
Ratchet Binders (Load Binders)
Ratchet binders use a ratcheting mechanism to apply gradual, controlled tension to the chain. They hold tension without “creep” and are generally considered the safer option.
Advantages: Easier to tighten, more consistent tension, less risk of sudden release, safer for solo operators.
Disadvantages: Slightly heavier, more mechanical parts to maintain.
Chain Lever (Snap) Binders
Lever binders use a cam-over mechanism — the lever swings past dead center to lock. They’re fast to apply and release.
Advantages: Faster setup and release, fewer moving parts.
Disadvantages: The lever can spring off under unexpected tension changes, creating a serious struck-by hazard. When releasing, always use a cheater bar for control and keep your body out of the swing arc. Many experienced haulers have moved away from lever binders for this reason.
For heavy equipment: Ratchet binders are preferred for most applications. Use them consistently and never overtighten — over-tensioning a chain causes permanent elongation and reduces its WLL.
Step-by-Step: Securing an Excavator or Bulldozer
Before Loading
-
Inspect the trailer: Check deck condition (no major rust, cracks at the tie-down rings), verify all tie-down rings are welded or bolted securely, inspect ramps or lowering mechanism.
-
Position the machine correctly: Center the equipment left-to-right. Place the machine so its heaviest end (typically the engine compartment) is toward the front of the trailer (toward the tractor). This places the CG forward, improving highway stability.
-
Lower all ground-bearing surfaces: Lower the blade (bulldozer), bucket to the deck (excavator), or outriggers if applicable. The machine should rest on the deck, not hang above it.
-
Lock the upper structure (excavators): Many excavators have a swing lock pin or brake. Engage it. The upper structure must not be free to rotate during transport.
-
Engage the parking brake and remove the key.
Chaining Procedure
Rule: Chains should always run at angles that restrain forward, rearward, and lateral movement. No single chain restrains all directions alone — you need at least 4 tie-down points for a typical excavator (front-left, front-right, rear-left, rear-right).
Chain routing for tracked equipment (excavators, bulldozers):
- Use dedicated tie-down pockets on the machine frame — not on bucket teeth, pins, or sheet metal
- Chains typically attach to the frame above the tracks and run diagonally down to the trailer tie-down rings
- Forward chains restrain against forward movement; rear chains restrain against rearward movement
- Angle chains between 45° and 60° from horizontal where possible — steeper angles provide less horizontal restraint
For wheeled equipment (backhoes, compactors):
- Chock wheels in addition to chaining — the machine must not be able to roll
- Attach chains to designated frame attachment points, not axle housings or steering components
- Apply chains to all four corners
Tightening and Final Inspection
- Thread the chain through the tie-down ring and through the machine attachment point, then connect both ends with a hook or shackle.
- Feed slack through the binder and tighten until the chain is snug but not drum-tight. Over-tensioning can damage the machine frame or trailer.
- Store chain tail safely — excess chain should not flap freely during transit.
- Walk around the entire load and tug each chain by hand. Every chain should be taut with no slack.
- Re-check after the first few miles — chains can settle slightly when the trailer flexes and the machine shifts microscopically into its final loaded position.
Equipment-Specific Requirements
Excavators
- Secure the boom by resting the bucket on the trailer deck if possible, and chain the boom arm separately
- Use the swing lock; an unsecured upper structure can rotate unexpectedly during highway maneuvers
- If the machine overhangs the front or rear of the trailer, flags and lighting are required (see below)
Bulldozers and Track Loaders
- Lower the blade fully to the deck — the blade acts as a natural forward anchor
- Chain through the push frame and rear frame at minimum 4 points
- Blade push arms and C-frames are generally acceptable chain attachment points; avoid the blade cutting edge
Skid Steers and Compact Track Loaders
- Lighter machines, but still chain at 4 points minimum
- Chains through the lift arm pivot points and rear frame
- Solid foam-filled tires are common on CTLs — verify the trailer deck can accommodate the rubber track width without damaging the trailer surface
Compactors and Rollers
- Articulated rollers must have the articulation joint secured or chained to prevent jackknifing in transit
- Drum surfaces are not chain attachment points — attach to the frame only
Flags, Lighting, and Oversize Requirements
Width and Height
- Over 8 feet 6 inches wide → Oversize load; requires permits and pilot cars in most states
- Over 13 feet 6 inches tall → Oversize load; height permits required; route survey needed for bridge clearances
- Over 14 feet → May require specialized routing and escort in most states
Overhang
- Rear overhang over 4 feet → Requires a red flag by day, red light or reflector by night
- Front overhang over 3 feet → Flag or marking required
Permit Requirements
Permit requirements vary by state. Most states regulate:
- Gross weight limits (varies; most standard roads limit around 80,000 lbs gross combined weight)
- Axle group weights
- Width, height, and length
For multi-state moves, you need a permit from each state you transit through. Services like Overdrive, Permitting Solutions, and state DOT portals handle this. Allow 1–5 business days per permit for routine loads; emergency permits may be available in some states.
Pre-Trip Inspection Checklist
Before pulling out of the yard, verify:
- All chains are taut with no visible slack
- All binders are latched and secured (cotter pin or safety wire on lever binders)
- Wheel chocks in place (wheeled equipment)
- Swing lock engaged (excavators)
- Machine is centered and weight is distributed appropriately
- No machine components overhang the trailer sides
- Overhang flags or lights are in place if required
- Trailer lights are functional
- Trailer brakes are connected and functional
- Permit copies are in the cab (if oversize)
- Ramps are stowed and secured
Re-inspect at 50 miles into the trip and every 150 miles or at each driver change thereafter. FMCSA requires en-route inspections after the first 50 miles for any cargo load.
Recommended Products
Chains and binders:
- Pewag Grade 70 Transport Chain (3/8” or 1/2”) — DOT-compliant, individually tested, WLL marked; available in bulk or pre-cut lengths with hooks
- Kinedyne 5510 Ratchet Binder (3/8”–1/2” chain) — industry-standard ratchet binder with a 9,200 lb WLL; drop-forged construction
Accessories:
- Pro-Grade Chain Binder Storage Bags — keep chains organized and accessible without tangling in the trailer box
- Lasso Strap Wheel Restraints — for wheeled equipment; loop around the tire and ratchet tight; backup restraint when combined with chains
- Checkers Safety 16” Wheel Chocks — yellow urethane, high-visibility, rated for 10,000+ lbs per pair
Compliance references:
- 49 CFR Part 393 Pocket Guide — printed reference card; keep a copy in the truck cab for inspections
- CVSA Cargo Securement Inspection Criteria — the checklist DOT inspectors use; knowing it helps you comply before they check
Common Mistakes to Avoid
Using Grade 30 chain as transport chain. Grade 30 is hardware store chain. It is not rated for cargo securement loads and is not acceptable under FMCSA rules.
Hooking chains through hooks. Chain hooks should never be connected hook-to-hook. Use a master link or shackle to connect chains to each other or to trailer rings.
Ignoring trailer tie-down ring ratings. The trailer’s tie-down rings have their own WLL. A ring rated at 5,000 lbs limits your effective tie-down WLL to 5,000 lbs regardless of the chain rating.
Not checking after the first miles. New loads settle. A chain that felt tight at the yard can have 2 inches of slack after the first highway on-ramp.
Skipping the permit. A Commercial Vehicle Enforcement officer will measure your load. Overweight and oversize penalties are significant, and repeat violations can affect your operating authority.
Bottom Line
Securing heavy equipment properly isn’t complicated, but it requires the right hardware, the right technique, and the discipline to inspect both before and during every trip. Use Grade 70 or better chain, attach only to designated frame points, ensure your AWLL meets FMCSA minimums, and check your tie-downs at every stop.
The cost of doing it right — a quality set of transport chains and binders — is a fraction of the cost of a dropped load, a damaged machine, or a serious accident on the highway.

Ironworks Insider Editorial Team
Independent trade-focused editorial team