Welding Repairs for Heavy Equipment: Bucket Teeth, Hardfacing, and Crack Repair
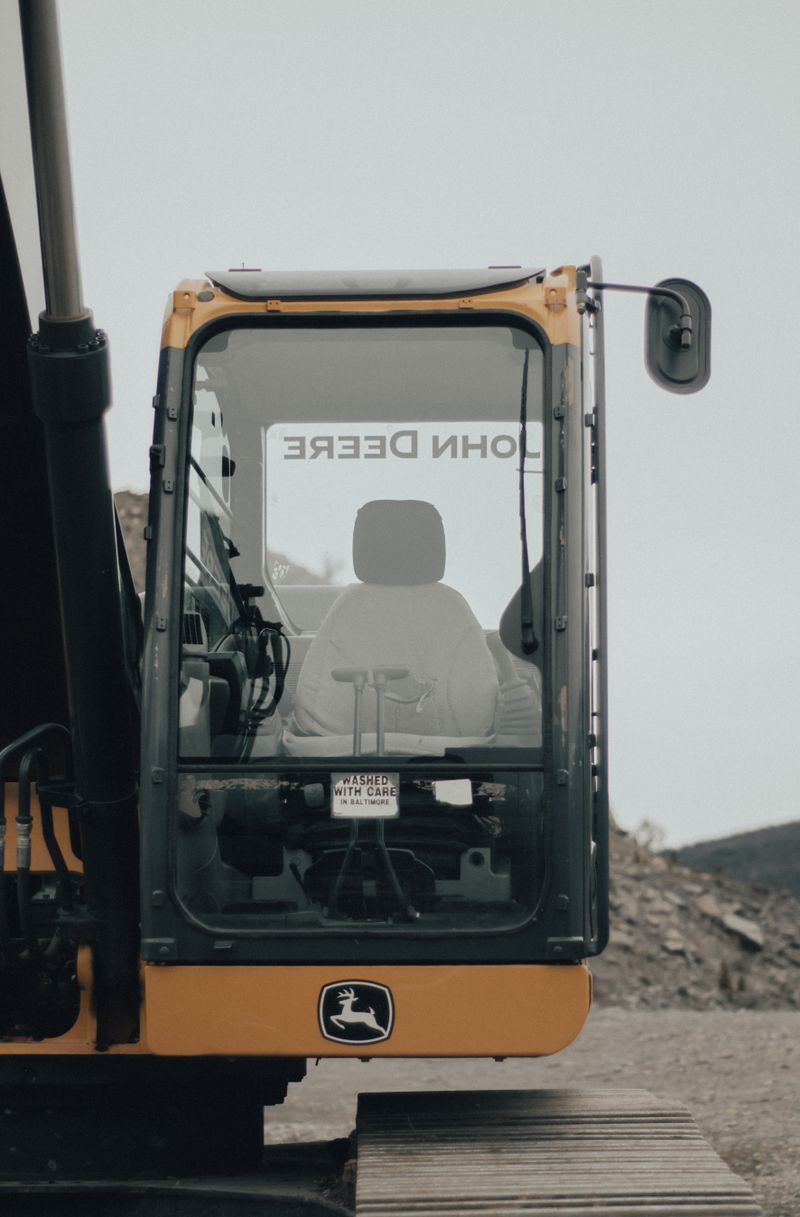
Heavy equipment takes a beating. Bucket teeth wear down to stubs. Cutting edges crack at the corners. The lip of an excavator bucket develops holes from abrasive rock. Bulldozer blades develop stress cracks at the push frame connection. On a busy job site, keeping this equipment running requires someone who knows how to weld it back together — correctly.
Incorrect welding repairs on heavy equipment cause failures that can be dangerous and expensive. The wrong filler metal on high-strength steel creates a brittle weld that cracks under load. Hardfacing over the wrong base material delaminates and spalls off. A bucket crack repaired without proper preparation just re-cracks in the same place.
This guide covers the most common heavy equipment welding repairs — what they involve, how to do them correctly, and what materials to use.
Understanding Heavy Equipment Steel
Before picking up a welding rod, understand what you’re welding. Heavy equipment components aren’t made from mild A36 steel. They’re made from:
High-strength low-alloy (HSLA) steel: ASTM A572 Grade 50 or similar. Common in frames, booms, arms, and structural components. Tensile strength 65,000–80,000 PSI. Requires higher-strength filler metals and specific preheat depending on thickness.
Abrasion-resistant (AR) steel: AR400, AR450, AR500. Used in buckets, cutting edges, wear liners, and any surface that contacts rock and dirt. High carbon and manganese content. Requires careful preheat, specific filler metals, and often postweld heat treatment. Welding AR steel incorrectly with the wrong rod creates a heat-affected zone that’s brittle and prone to cracking.
Manganese steel (Hadfield): Austenitic manganese steel containing 11–14% manganese. Used in bucket lips, crusher jaws, and wear parts that benefit from work-hardening. Cannot be preheated — heat destroys its toughness. Must be welded with specific manganese steel electrodes using short bead segments and interpass cooling.
Identifying the material: If you don’t know what you’re welding, look for heat stamps on the component, consult the OEM parts manual, or use a spark test. AR steel gives off bright, short, star-shaped sparks; mild steel gives longer, feathery sparks; manganese steel gives orange sparks with fewer stars.
Repair #1: Bucket Tooth Replacement
Bucket teeth are the most frequently replaced wear component on any digging machine. They’re typically made of hardened manganese or AR steel and attach to an adapter (the base welded to the cutting edge lip) via a replaceable pin or retainer.
Most modern bucket teeth use pin-on or hammerless mounting systems that don’t require welding. However, the adapter (also called a tooth base or tooth holder) is welded permanently to the bucket lip and does eventually wear, crack, or require replacement.
Replacing a Worn Adapter
Required materials:
- Replacement adapter (match to bucket brand and tooth system)
- Hardfacing electrode (see hardfacing section)
- Low-hydrogen, high-strength electrode (E7018 or E8018-C3 for high-strength steel buckets)
- Plasma cutter or carbon arc for removing the old adapter
Procedure:
-
Remove the old adapter: Use a plasma cutter or carbon arc gouge to cut the old adapter free. Work carefully to avoid cutting into the bucket lip itself. Grind the lip surface smooth — any high spots or gouges in the base material will prevent proper fit-up.
-
Prepare the base metal: Clean the weld area to bare metal. No paint, no rust, no mill scale within 1 inch of the weld zone. Preheat the bucket lip to 300–400°F if the bucket material is AR400 or higher. Use a contact thermometer or temperature-indicating sticks (Tempilstik) to verify preheat.
-
Tack-weld the adapter in position: Tack at multiple points to hold alignment before running full welds. Verify the adapter is oriented correctly (points perpendicular to the direction of dig) before completing the weld.
-
Weld: Use E7018 or E8018-C3 electrodes. Run the root pass first with a 3/32” or 1/8” rod. Fill with 5/32” or 3/16” rods on multiple passes. Allow each pass to cool slightly and remove slag completely before the next pass.
-
Hardface the adapter: After welding, apply one to two beads of hardfacing on the adapter’s wear surfaces to extend service life (see hardfacing section below).
-
Slow cool: After welding, cover the assembly with welding blankets or insulating material to allow slow cooling. Rapid cooling of high-carbon steel creates brittle martensite in the HAZ.
Repair #2: Hardfacing Wear Surfaces
Hardfacing is the application of wear-resistant weld metal over base metal to dramatically extend service life. It’s one of the highest-ROI maintenance operations in heavy equipment — a $50 hardfacing job on a bucket cutting edge can triple its wear life.
Where to Hardface
- Bucket cutting edge and side cutters
- Bucket teeth adapters
- Dozer blade cutting edges
- Ripper shanks and tips
- Scarifier teeth
- Grader blade ends
- Any surface experiencing abrasive wear
Choosing the Right Hardfacing Electrode
Not all hardfacing products are the same. Match the electrode to the wear mechanism:
| Wear Type | Application | Recommended Hardfacing |
|---|---|---|
| Abrasion (rock, soil) | Bucket lips, blades | Chromium carbide (Stoody 1105, Lincoln Wearshield BU) |
| Impact + abrasion | Bucket teeth, adapters | Manganese-based (Stoody 965-G, ESAB Hardface 200) |
| Metal-to-metal wear | Pins, bushings adjacent areas | Martensitic steel rod (Lincoln Wearshield 70) |
| Severe impact | Crusher hammers, chisel bits | Austenitic manganese (Lincoln Wearshield 15CrMn) |
For most bucket and blade hardfacing: a chromium carbide or martensitic hardfacing electrode in the 55–65 HRC (Rockwell C) range provides excellent abrasion resistance.
Hardfacing Technique
-
Do not hardface bare base metal that hasn’t been properly cleaned. Remove all worn metal, oxidation, and old hardfacing to bright metal. Build-up alloy on bare metal, then hardface over the build-up layer.
-
Preheat for AR steel base: 300–400°F for AR400; 400–500°F for AR500.
-
Lay beads in a crosshatch or stringer pattern. Crosshatch patterns (waffle iron look) on bucket lips allow fine rock and dirt to flow between the hard ridges, reducing soil adhesion and improving bucket penetration. Stringer beads are appropriate on flat sliding-contact surfaces.
-
Maximum two layers of hard chromium carbide. Adding more layers increases the risk of cracking and delamination. If you need more material thickness, use a build-up alloy first.
-
Do not weld over hardfacing with structural rods. Hardfacing is not structural — don’t use it to fill cracks or gaps in load-bearing members. Repair structure first, then hardface the wear surfaces.
-
Allow full cooling before returning to service. Hardfacing is brittle — quenching a hot hardfaced bucket into cold water or soil can crack the hardfacing layer immediately.
Repair #3: Crack Repair in Structural Components
Cracks in booms, arms, frames, push frames, and other structural components are serious. A cracked boom can catastrophically fail under load. Any crack repair on a load-bearing component requires:
- Proper crack identification and root cause analysis
- Complete excavation of the crack (not just welding over it)
- Correct filler metal for the base material
- Appropriate preheat and postweld heat treatment
- Quality inspection (visual minimum; dye penetrant or UT for critical components)
Finding the Full Extent of the Crack
Cracks are longer than they appear on the surface. Before welding, use dye penetrant (PT) or magnetic particle (MT) inspection to find the true extent:
Dye penetrant procedure:
- Clean the area thoroughly — solvent wipe
- Apply red penetrant, allow 10–15 minute dwell time
- Wipe off excess penetrant
- Apply white developer
- Cracks will appear as red lines bleeding through the developer
Mark the full length of the crack before doing anything else.
Crack Excavation
Grinding: A carbide burr or flap disc can open a crack to create a proper weld groove. Minimum groove depth should reach below the crack tip.
Carbon arc gouging: Faster for deep cracks; leaves a carbon deposit that must be ground clean before welding.
Gouging depth: Excavate to sound metal — stop when you can confirm by PT or visual inspection that no crack remains. Never try to weld over the tip of an existing crack.
Weld Procedure for Structural Crack Repair
For high-strength steel components (booms, arms, frames):
Filler metal selection:
- Minimum tensile strength should match or exceed the base metal
- For HSLA structural steel: E7018 (70,000 PSI minimum tensile) or E8018-C3 (80,000 PSI) per AWS D1.1 structural welding code
- For AR plate: E8018-C3 or E9018-M filler metal; avoid standard E6013 (inadequate strength)
Preheat (critical):
- 1/2” thick steel: 200–300°F minimum
- Over 1” thick: 300–500°F minimum
- AR steel: Add 100°F to the above minimums
- High restraint joints (thick metal, box sections): add 100–150°F additional
Joint preparation:
- Grind a V-groove or U-groove to provide good weld access to the root
- Taper the groove sides to 30–45 degrees per side (60–90 degree included angle)
- Root face: 1/16” to 1/8” for most thickness
Welding sequence:
- Root pass: smaller electrode (3/32” or 1/8”), verify complete fusion at the root before continuing
- Fill passes: build up in layers with complete slag removal between passes
- Cap pass: leave slightly convex; do not leave a concave cap bead on structural repairs
Peening: On restrained joints prone to cracking, light peening of each pass (not the root or cap) with a chipping hammer reduces residual stress and improves fatigue life.
Postweld inspection: Apply PT or MT after welding and cooling. Verify no new cracks at the weld toes (the most common location for repair failures).
Safety Considerations
Fumes from AR steel: High-chromium hardfacing rods produce hexavalent chromium fumes during welding — a known carcinogen. Always use:
- Air-fed respirator or high-efficiency P100 filter respirator
- Forced ventilation or local exhaust
- Never weld hardfacing in enclosed spaces without positive air supply
Preheat burns: When preheating thick metal with a rosebud torch, the metal stores a tremendous amount of heat. Use appropriate leather welding gloves and apron. Contact burns from preheated steel are severe.
Plasma cutting on painted equipment: Old paint on heavy equipment may contain lead (on vintage machines). Test before cutting on equipment manufactured before 1980, and use respiratory protection.
Tools and Equipment Recommendations
For on-site heavy equipment repair:
- Lincoln Electric POWER MIG 260 (MIG/FCAW) — 220V MIG machine capable of running flux-core wire for outdoor use; handles most structural repair work on excavators and buckets
- Lincoln Electric AC/DC 225/125 Stick Welder — reliable stick welder for E7018 and hardfacing rod; runs on generator power; useful for field repairs without MIG setup
- Esab Atom Arc 7018 Electrodes (5 lb can, 3/32” and 1/8”) — Lincoln Excalibur 7018 or ESAB Atom Arc; premium low-hydrogen rod for structural repairs; keep in a rod oven on job sites
For crack detection:
- Magnaflux 01-4440-88 Spotcheck Penetrant Kit — complete dye penetrant kit; cleaner, penetrant, and developer; sufficient for field use on crack inspection
Personal protection:
- Lincoln Electric K3028-1 Full Face Welding Helmet (auto-darkening) — essential for inspection work near weld zones and for single-operator repair in awkward positions
- 3M Airstream Powered Air Purifying Respirator (PAPR) — for sustained hardfacing work in enclosed environments; hexavalent chromium protection
When to Call a Professional
Some repairs should not be attempted in the field:
- Cracks in boom pivot brackets or main pin boss areas — these are high-stress zones that require engineering assessment
- Repairs on certified lifts (cranes, aerial work platforms) — load-bearing welds require certified welders and inspection documentation
- Any repair where you cannot verify the base metal composition
- Repairs on machines under warranty — unauthorized welding may void OEM warranty coverage
A structural failure caused by an improper repair is far more expensive than the cost of hiring a qualified welding contractor. When in doubt, document the crack, take it out of service, and get a professional assessment.
Bottom Line
Field welding on heavy equipment is a skill that pays for itself many times over on any active equipment fleet. The keys are knowing your base metal, using the correct filler, preparing the joint properly, and applying the right preheat. A repair done right the first time keeps a machine running for another season. A repair done wrong brings it back to the shop — usually at the worst possible time.

Ironworks Insider Editorial Team
Independent trade-focused editorial team